Tote bags & canvas printing without misprints: here's how to choose between DTF and flex
Tote bags seem on paper to be the "easiest" textile product: flat, rectangular, lots of printing surface and perfect for corporate gifts, schools, libraries, events and governments. In practice, tote bags in particular go wrong remarkably often. Not because DTF or flex is bad, but because canvas and cotton bags have a few typical pitfalls: thick weave, seams/ hem, a bottom fold, handles that get in the way and a large surface that makes crooked quickly visible.
In this article you get a practical decision aid for DTF versus flex on cotton/canvas, plus a workflow made for B2B (briefing, positioning and quality control). The goal is simple: bags that look consistently "retail-ready," whether you're making 10 for a workshop or 500 for an event.
The common thread: with tote bags, positioning + pressure distribution is often more important than your initial impulse ("which technique is prettier?"). If you organize those two components tightly, both DTF and flex perform excellently on sturdy canvas bags.
Quick choice: when DTF, when flex (and why sublimation usually drops out)
When printing tote bags or canvas bags, you can often make the choice in 30 seconds.
Choose DTF when you have a full color logo, an illustration with shadows/gradients, or when you want to make many variations without re-cutting each time. DTF is also useful if you can have transfers made in advance and want to "batch" your production on press: quickly position, press, peel/second press and through.
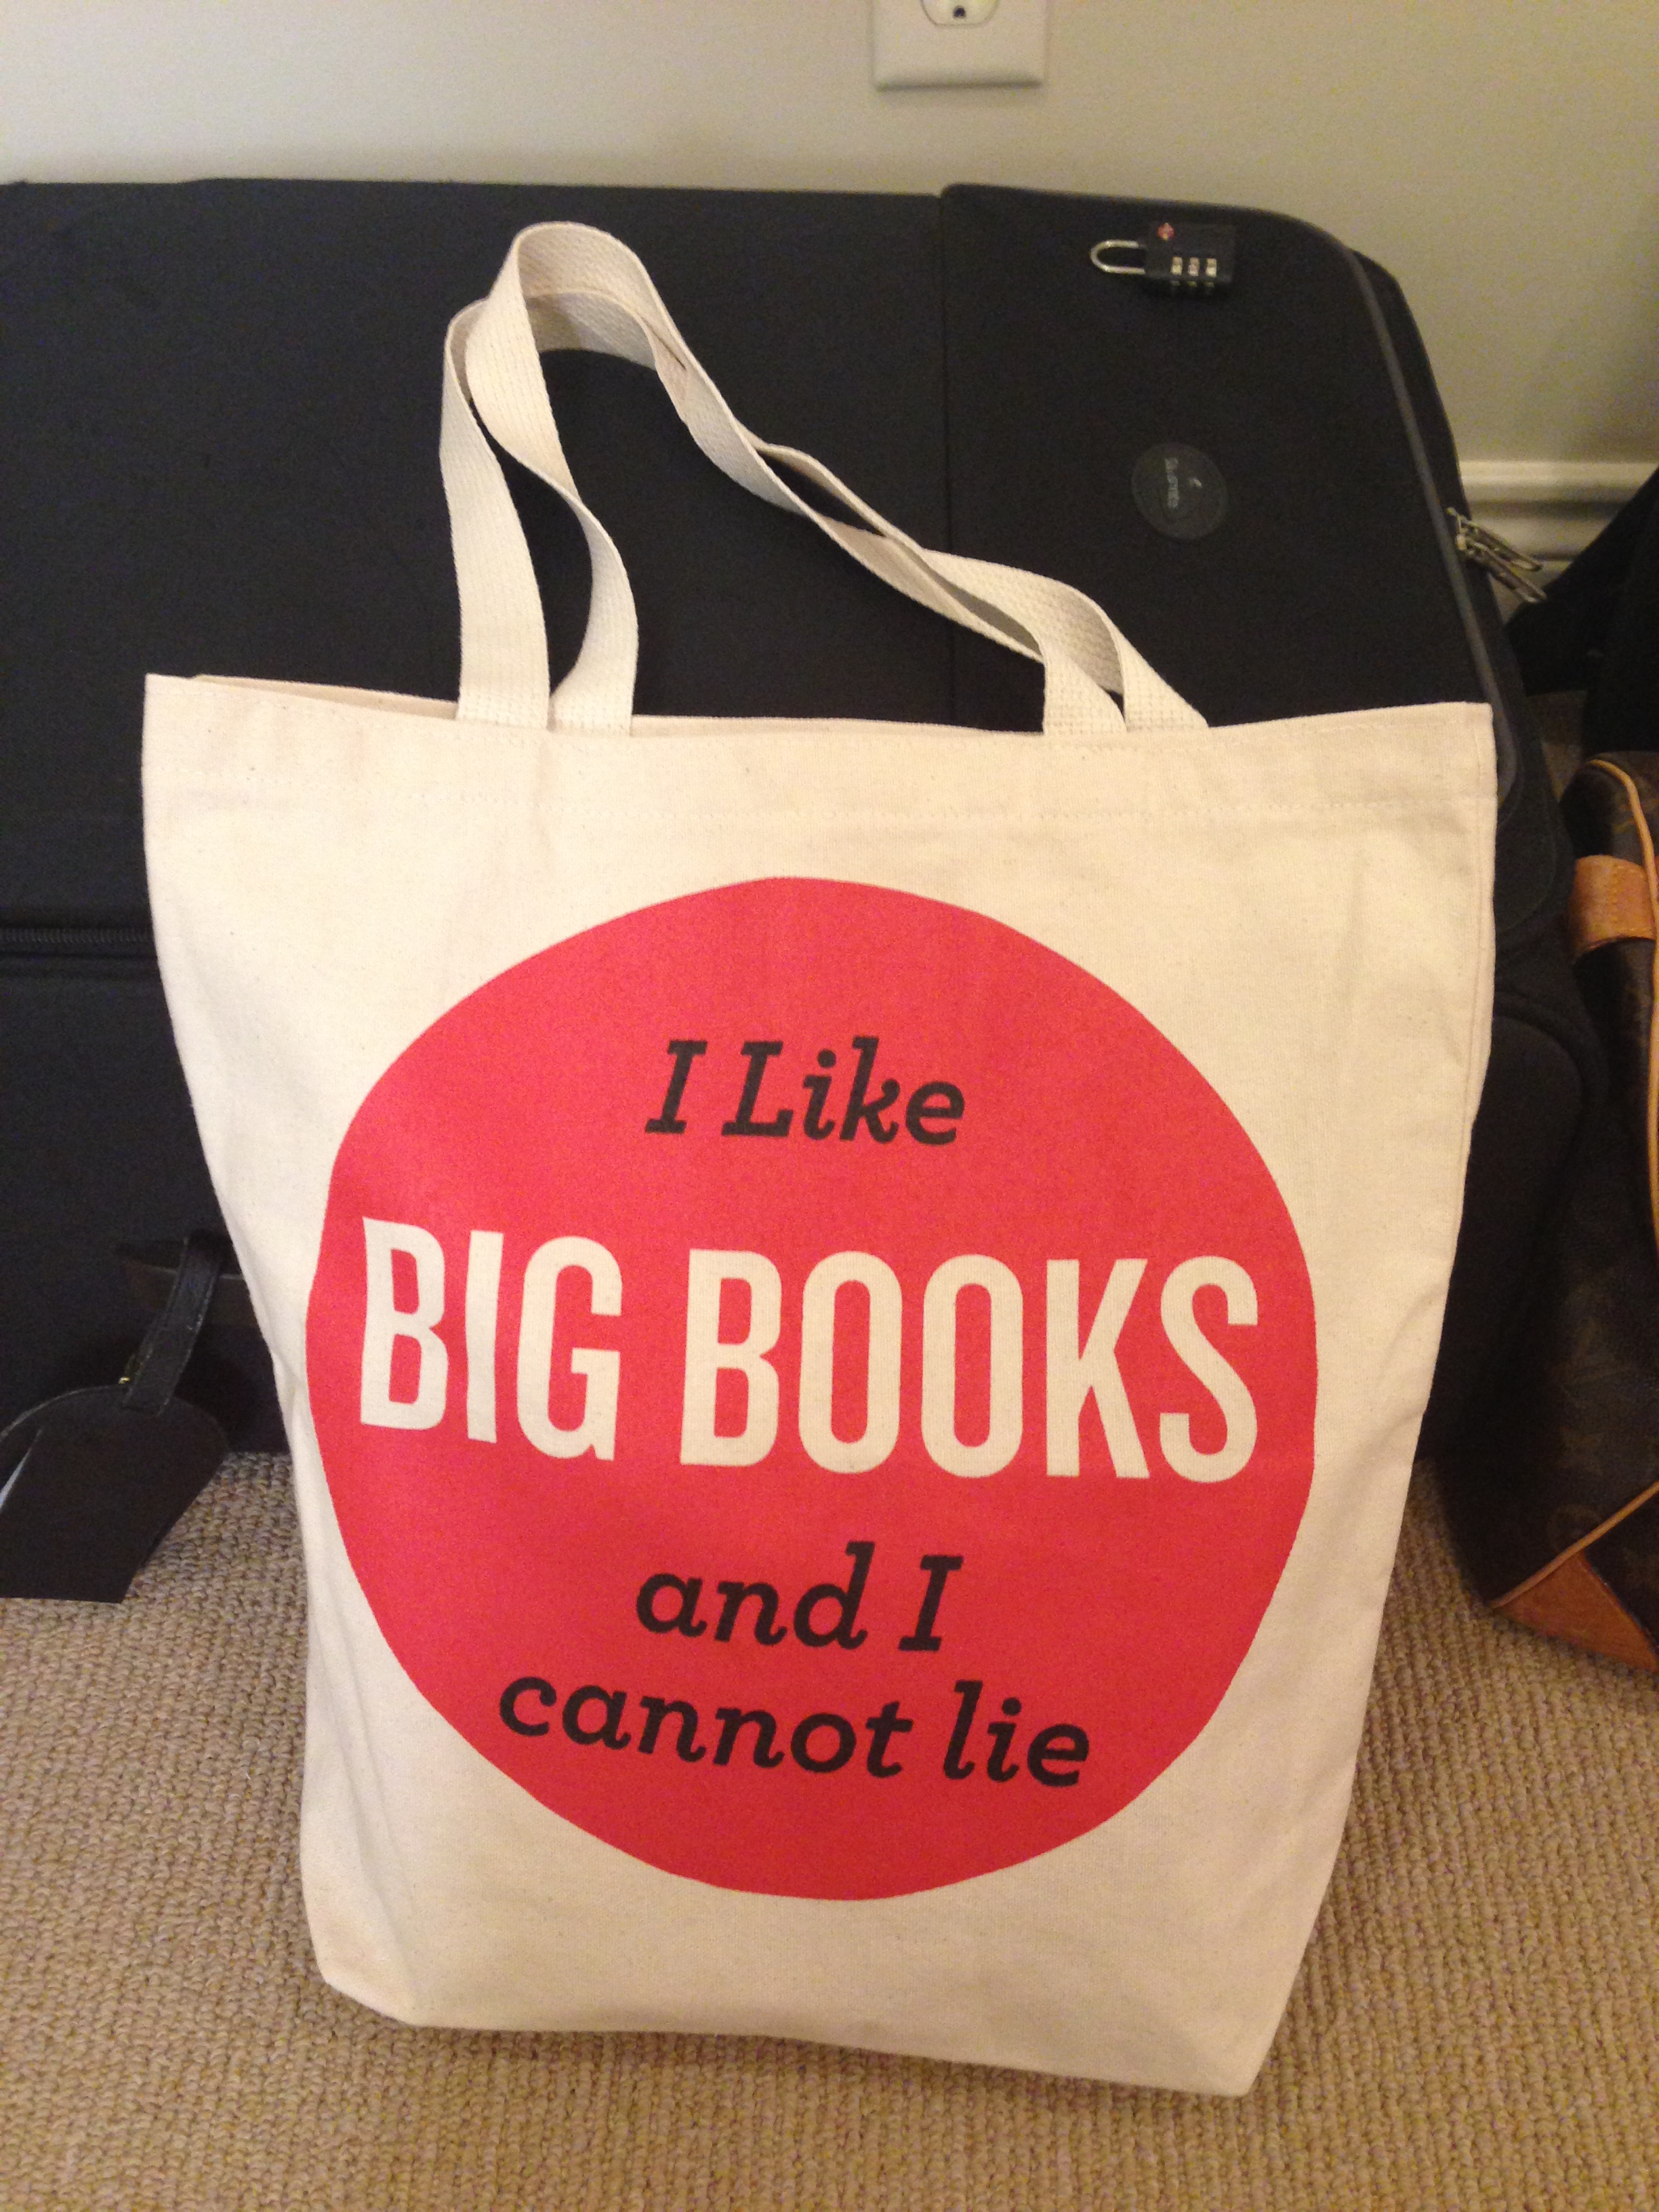
Choose flex when your design consists mainly of text (slogan, brand name, short message), when you want 1-2 colors and are looking for a very clean, consistent result. On canvas, flex often feels "graphic" and premium, as long as you don't try to force too fine detail on a rough weave.
Why sublimation doesn't usually make sense on cotton/canvas: in practice, sublimation works mostly on (light) polyester. A typical canvas tote bag is cotton or a cotton blend and therefore is not going to sublimate "purely". You can combine sublimation via special coatings or polyester bags, but then you are already in a different product segment.
Important: with tote bags, "prettiest" is not just the print itself. It is also about:
- Placement: is the logo optically in the middle, taking into account handles?
- Printing areas: do you (accidentally) print on hems/seams/bottom fold?
- Consistency: do 200 bags look like they come from one batch?
If you've seen a bad batch once (logos that are a different height on each bag), you'll know why this article is so positioning-driven.
Material check before you start: cotton, heavy canvas, color and construction
A tote bag is not a "flat piece of fabric." Canvas varies greatly by supplier and by grammage. Just that difference determines whether you get a perfectly even result with DTF, or just a "spotty" adhesion at the heights of the weave.
Thin cotton vs heavy canvas
- Thin cotton (think promotional bags) presses flat quickly. This makes positioning easier and you usually get a more even adhesion. The downside: the material can get print-through on the back more quickly and wrinkles more quickly.
- Heavy canvas (solid promotional gift bags) is stiff, thick and has visible structure. This looks premium, but requires attention to pressure distribution. If your press sheet doesn't press perfectly flat or if you get too close to a hem, you get variation in adhesion.
Natural fibers: lint/structure and effect on detail
Canvas often has micro fluff. Very fine details (mini-text, thin lines) "disappear" more quickly optically. This is not necessarily a technical problem, but a readability problem. A design that looks sharp on a smooth t-shirt may be just too fine on canvas.
Dark vs. light textiles
On dark bags, coverage is crucial:
- DTF can provide excellent coverage, but you then want extra consistent press (print + second press) so the edges don't start to work.
- Flex is often super consistent in coverage at 1-2 colors, as long as you choose the right film for textile structure.
Construction: zipper, bottom fold, inside pocket, wide hem
Every extra seam/layer is a potential "pressure disrupter." A bottom fold can cause you to unknowingly press on a thickening. As a result, your transfer may get too little pressure on one side and too much on the other.
Practical rule: if your bag has a bottom fold, treat it as if it were a hoodie seam. You want to keep your print area far enough away from the fold and make your work surface as flat as possible with inserts.
DTF on canvas: best practices for even results (without 'spotty' adhesion)
DTF is ideal on tote bags when you want to score visually: full color, illustrations, badges, event artwork, sponsors or a complex logo with small color differences. The challenge on canvas is not "can it adhere?" but "does it adhere equally well everywhere?"
When DTF on tote bags makes the most sense
- Full color artwork with multiple shades
- Logos with gradients or fine shadows
- Variable production with transfers (have transfers made first, then just press)
Printing on structure: how to avoid 'spotty' adhesion
Canvas has highs and lows. If your press pressure is too light or your pressure distribution is not flat, the adhesive layer will not melt the same way everywhere.
Practical improvements:
- Pre-press the bag briefly to remove moisture/crease and "set" the surface.
- Use an insert (cardboard, Teflon sheet, press pad depending on your situation) so you have a stable surface.
- Avoid pressing over a hem or next to a thick handle: that pulls your pressure away from the print area.
Second press and protective sheet: matte finish without gloss
A second press (with protective sheet) often helps to:
- "tighten" the edges
- "delineate" the texture of canvas a little more evenly
- get a less plastic feeling/appearance
Most importantly, be consistent: if you're making 200 bags, you don't want half of them to have a gloss and the other half to look matte. Therefore, write down your settings (time/temperature/pressure) and keep your workflow identical per batch.
Flex on canvas: tight, repeatable and ideal for text (but guard your detail)
Flex (HTV) excels at consistency. For tote bags, flex works particularly well for:
- 1-color or 2-color logos
- typography (quotes, branding, crew, limited edition)
- name personalization (e.g. VIP, team, staff)
When flex is the smartest choice
If you want 300 tote bags to look exactly the same, flex is often the most "controllable" technique. You can do test-cuts, adjust your font thickness and have few variable factors during press.
Minimum line thickness and font size on rough structure
Canvas is rough. As a result, two practical rules apply:
- Avoid ultra-thin font lines. They appear optically thinner because of the weave.
- Rather, choose one step larger in font size than you would on a t-shirt.
Multi-colored flex: register without overheating
Multicolored flex is possible, but tote bags don't tolerate endless heat (especially thin cotton). Therefore, you want to:
- design your registration smartly (so layers don't overlap unnecessarily)
- batch your workflow per color and position
- avoid "baking" the textile flat, which can give a cheap impression
If you work with flex more often (cutting, weeding, registering), it pays to standardize your process. By doing so, you not only gain time, but also quality.
Placement & positioning on tote bags: the 'bag-specific' measurement rules
Positioning is merciless with tote bags: a logo 1 cm off center stands out faster than on a t-shirt. Moreover, handles and seams are fixed visual references. Use those to your advantage.
Determine center line (handles as reference)
Lay the bag flat and determine the center line by:
- measuring the distance between the inside edges of the handles
- marking the center (lightly, temporarily)
- working down from that point
Height of print: why 'too high' often feels wrong
Many tote bags have a wide hem at the top. If you press too close to that hem, it looks like the logo is "sticking to the edge," and besides, you risk printing problems. A slightly lower placement often reads quieter and is technically safer.
Avoid hems/seams/bottom fold: define a pressure-free zone
Mark out (on a test bag if necessary) a "pressure-free zone."
- no print over the top hem
- not over side seam or insert
- not over the bottom fold
If your customer insists on a large logo, consult: rather something smaller and perfect, than large and technically unstable.
Work with a simple jig
For batches, a jig is golden: a cardboard jig or measuring strip that lets you position each bag identically. That's the difference between "handwork" and "production."
Press workflow: avoid follow-through and build consistency
Tote bags have a big advantage: you can process them quickly. They also have a big disadvantage: the bag consists of two layers and they want to "join in" during pressing. Therefore, your press workflow is typically bag-specific.
Pressing bag "open": use insert against press-through
One of the most common mistakes is print-through or imprinting on the back. Solution: press the bag open, and place an insert between the front and back.
Practical inserts:
- sturdy cardboard to size
- Teflon sheet
- press pad where it makes sense (in case of thickening)
Pre-press: moisture and wrinkles
Canvas and cotton absorb moisture. A short pre-press helps for:
- more stable adhesion
- fewer "wrinkles" that make your print optically skewed
Making printing & temperature consistent
Consistency comes from discipline:
- same insert
- same positioning points
- log settings
- test bag per new probe type
If you have multiple bags (different models) in one job, split per model. Otherwise you will unknowingly get small deviations in print and height.
Durability & use: what can you promise?
Bags get a lot of friction (shoulder, hands, groceries) and often go through life "rougher" than a t-shirt. A realistic promise is better than a marketing promise. Therefore, always put one sentence of washing advice on a care card or in the delivery (especially for giveaways).
Ordering & briefing checklist (B2B): what you want in black and white beforehand
For corporate gifts and events, speed is important, but flawless delivery is even more important. With these briefing points, you'll avoid the 3 classics: wrong bag, wrong position and wrong files.
At a minimum, record:
- Bag size and model: standard tote, long handles, bottom fold, zipper, inside pocket
- Material and color: cotton/canvas, light/dark, grammage (or at least "thin" vs. "heavy")
- Print position and size: in cm, plus optical reference (distance from top hem or from handle line)
- Numbers + deadline: including delivery time (event hour is often stricter than event date)
- Files: vector or PNG, transparency, color info, possible variants
Want it even more efficient? Ask right away if repeat orders are possible. Then you can document settings, jigs and positions so you don't have to search again later.
This discipline is exactly what makes tote bags so suitable for professionalization: set up well once, then repeat quickly.